How to flash an ESP32 without esptool and Python: ELX-ESP Programmer
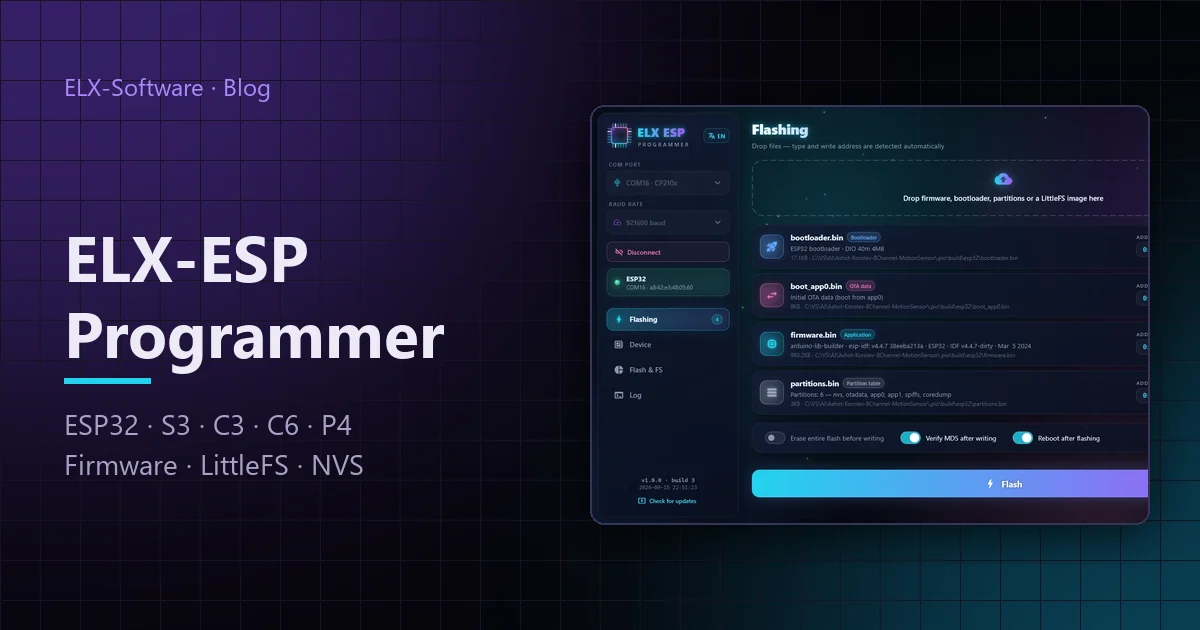
esptool can do everything, but it means a command line, Python and addresses you have to know by heart. ELX-ESP Programmer does the same job in a clear window: drop the files in and they land at the right addresses, while the program tells you everything about the connected chip.
How an ESP32 is usually flashed
Espressif’s standard tool is esptool: reliable, complete and open source. Arduino IDE, PlatformIO and ESP-IDF all use it. But when a board has to be flashed outside a development environment — in production, at a customer’s, or during an update on site — the command line begins:
esptool.py --chip esp32 --port COM5 --baud 921600 write_flash \
  0x1000 bootloader.bin 0x8000 partitions.bin \
  0xe000 boot_app0.bin 0x10000 firmware.bin 0x290000 littlefs.bin
You have to install Python, remember the addresses for each chip (the ESP32 bootloader goes to 0x1000, on the ESP32-S3 and C3 to 0x0), keep the files straight and get the partition table right. And to find out what is already on the board — which files are in LittleFS, which settings are in NVS — there is no ready tool at all.
What ELX-ESP Programmer does
ELX-ESP Programmer is a Windows program with its own implementation of the ESP bootloader protocol. It needs neither esptool nor Python: everything is in one installer.
Drag-and-drop flashing
Single files or a whole PlatformIO build folder — type and address are worked out for you
Everything about the chip
Model, revision, crystal, MAC, flash vendor and size, the firmware version on the board
Flash map
Partitions to scale with their real usage and the active OTA slot
LittleFS and NVS
Files on the device with download, NVS keys with types and values
Verified writes
Compression and MD5 after writing, warnings before it
Backups
The whole flash or a single partition to a file
Flashing: everything you can write
Drop files into the window one at a time or all together. The program recognises a partition table, a merged image, LittleFS, the bootloader and the application by their content, and boot_app0, SPIFFS and FAT by name, then puts each at its address for the chip in question:
| File | Where it is written |
|---|---|
| bootloader.bin | 0x1000 on ESP32 and ESP32-S2, 0x2000 on ESP32-C5 and ESP32-P4, 0x0 on the rest |
| partitions.bin | 0x8000; the other files take their addresses from this table |
| firmware.bin | The first application partition |
| littlefs.bin, spiffs.bin | The file-system partition |
| boot_app0.bin | The OTA data partition |
| Merged image | 0x0 — everything in one file |
.pio\build\esp32 folder into the window — the bootloader, partition table, firmware and file-system image are all taken from it together.Before writing, the program warns you if a file does not fit its partition, overlaps another one or was built for a different chip. After writing it checks MD5 and can reboot the board. Speed and time remaining are shown while flashing.
What is on the board
As soon as it connects, the program queries the chip and shows what esptool prints, and more:
- Chip: model and revision, features (Wi-Fi, Bluetooth, PSRAM), crystal frequency, MAC address.
- Flash: vendor and size.
- Firmware on the device: project name, version, ESP-IDF version and build date.
- Flash map: every partition to scale, how much is taken by the application image, NVS entries and LittleFS blocks, whether a core dump is present, which OTA slot boots.
- LittleFS: the file tree with sizes; any file can be downloaded to your PC.
- NVS: keys with namespaces, types and values; passwords stay hidden until you reveal them.
Supported chips
ESP32, ESP32-S2, ESP32-S3, ESP32-C2, ESP32-C3, ESP32-C5, ESP32-C6, ESP32-C61, ESP32-H2 and ESP32-P4 through a USB-UART bridge — CP210x, CH34x or FTDI. Port speed ranges from 115,200 to 2,000,000 baud. Every release is tested on a real board: chip detection, writing with MD5 verification and reading LittleFS back byte for byte.
Getting started
- Install the program from the download page — it runs on 64-bit Windows 10 and 11.
- Connect the board, pick the COM port and press Connect: the program puts the chip into the bootloader through DTR and RTS by itself.
- Drop in the firmware files, check the addresses on the cards and start writing.
If the chip does not respond — for example the board has no auto-reset or the cable is charge-only — such cases are covered in the documentation. The interface is translated into nine languages, and the program finds new versions by itself.